 Yesterday, I blogged about using The Imaging Source FireWire astronomy cameras on Ubuntu 7.04 (Feisty Fawn). Today, I would like run through the same procedure, but with USB 2.0 astronomy cameras.
Step #1: Set up the hardware
Connect a USB 2.0 astronomy cameras to the USB 2.0 port on your computer with a simple USB cable. Please make sure that your PC does indeed have a USB 2.0 port and not the older USB 1.0. If you purchased your PC within the last four years, you will certainly have a USB 2.0 port. The Imaging Source USB 2.0 astronomy cameras do not support USB 1.0, simply because the cameras produce so much data that it is impossible to transfer it all over the slow USB 1.0 interface.
Step #2: Set up the USB 2.0 driver
This is the most complicated step of the whole procedure. We need to download and compile the USB 2.0 driver. First, however, you need to install a compiler and linux headers:
sudo apt-get install build-essential linux-headers-generic
Now we have an environment in which the USB 2.0 driver can be compiled.
Delete the shipped USB 2.0 driver:
sudo rm /lib/modules/2.6.20-15-generic/kernel/ubuntu/media/usbvideo/uvcvideo.ko
Change to your source code directory:
cd /usr/src/
And download the USB 2.0 driver source code:
sudo wget https://www.astronomycameras.com/en_US/blog/archive/20071129linux-uvc_trunk_arne.tar.gz
Extract the files:
sudo tar xfzv linux-uvc_trunk_arne.tar.gz
And change directory into the source code tree:
cd linux-uvc_trunk_arne
Compile the code:
sudo make
Install the new USB 2.0 driver:
sudo make install
You now have the latest USB 2.0 driver installed on your PC.
Step #3: Set up the software
The software that is required to use The Imaging Source USB 2.0 astronomy cameras on Ubuntu 7.04 is available from a 3rd party project and released under a General Public License (GPL) and a commercial license.
The project is called unicap and has its own homepage at unicap-imaging.org. Maintained by Arne Caspari, the project is sponsored by The Imaging Source.
To access and install the software, you first need to update yoursources.list. This can be done with:
sudo gedit /etc/apt/sources.list
At the end of the file, add the following two lines:
# The Imaging Source Cameras


deb http://unicap-imaging.org/packages feisty main
Save and close the file.
Update the repository listing:
sudo apt-get update
And install the video capture application (ucview) with all its dependencies:
sudo apt-get install ucview
A detailed description of these steps can be found on the project's web site.
Reboot.
Now, you can startucview(the capture application) with:
ucview
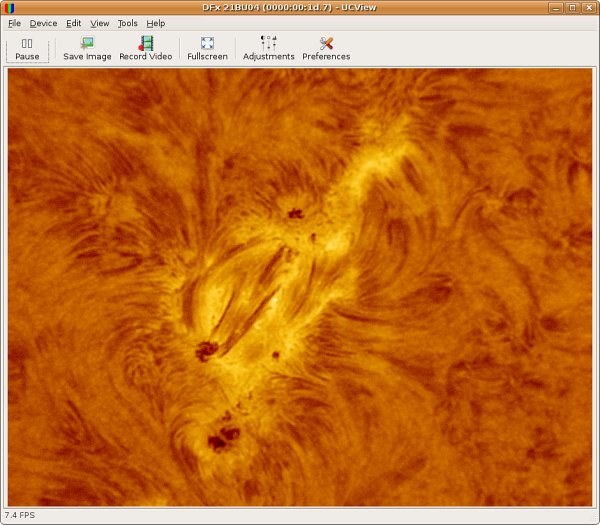
You should see the following application window:

Please post requests for support in the comments section below.
References
Image in screenshot is copyright Dierick Vercouter.